
Use filter groups
Filter groups in Blueprint
Filter groups are an optional way to make long option lists easier for customers to browse in a personalisation template. Instead of showing every option value in one long list, you can create a filter such as Colour and assign each option value to one of those filter values.
This is especially useful when a template contains many similar choices, such as multiple shades of the same colour, different finishes, or grouped material types.
Filter groups are available for option types that use Option Values: Checkbox, Radio Button, and Single Dropdown.
When to use filter groups
You have a long list of option values and want to make them easier to scan.
You want customers to narrow results before choosing a final option.
You are using In modal in Storefront Display or you have turned on Show option values in slide out picker for an option.
For example, you might create a filter group called Colour with filter values such as Red, Blue, and Green. You can then assign each option value to one of those filters so customers can quickly narrow the list.
Create a filter group
In the Blueprint app menu, go to Templates. Open an existing template or click Create Template.
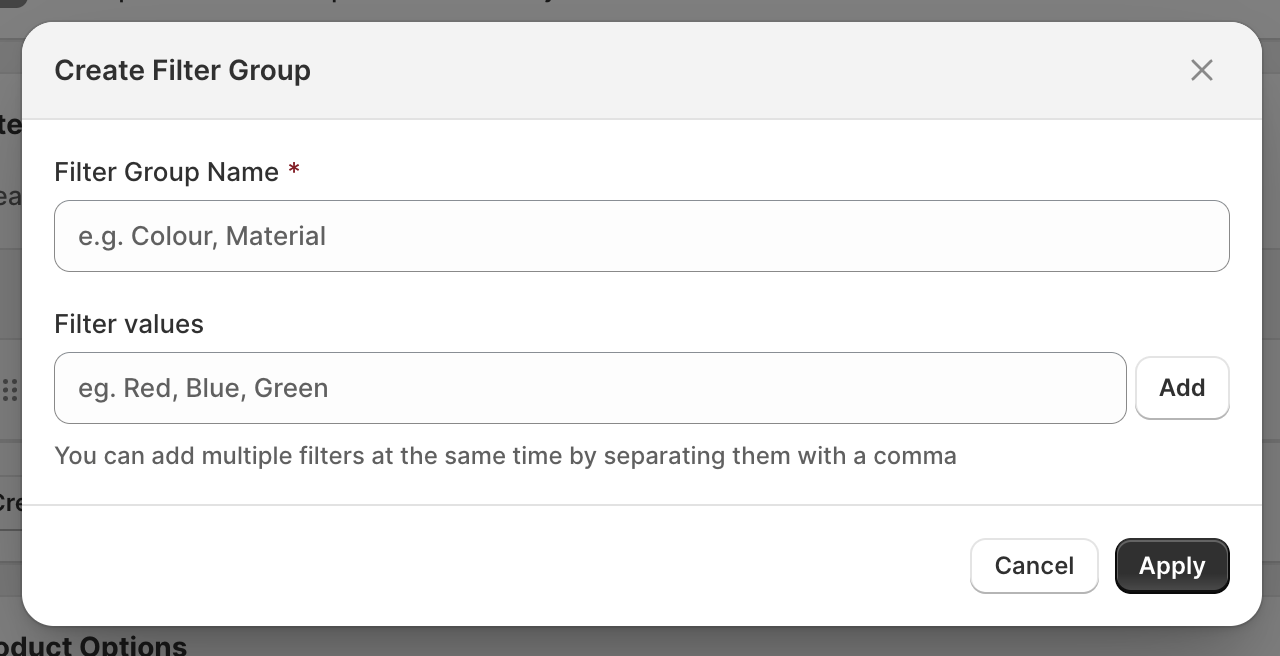
While editing the template, click Create Filter Group.
Enter a clear group name such as Colour.
Add the values customers will use to filter the list.
To add several values at once, enter them as a comma separated list, such as Red, Blue, Green.
To add them one by one, type a value and use the Add button.
Apply the filter group so it becomes available inside supported option types.
Apply a filter group to an option
After creating a filter group, you can attach it to an option that uses Option Values.
In your template, add a new option with Add Product Option or open an existing one.
Filter groups can be used with:
Checkbox (Multi-Select)
Radio Button
Dropdown List
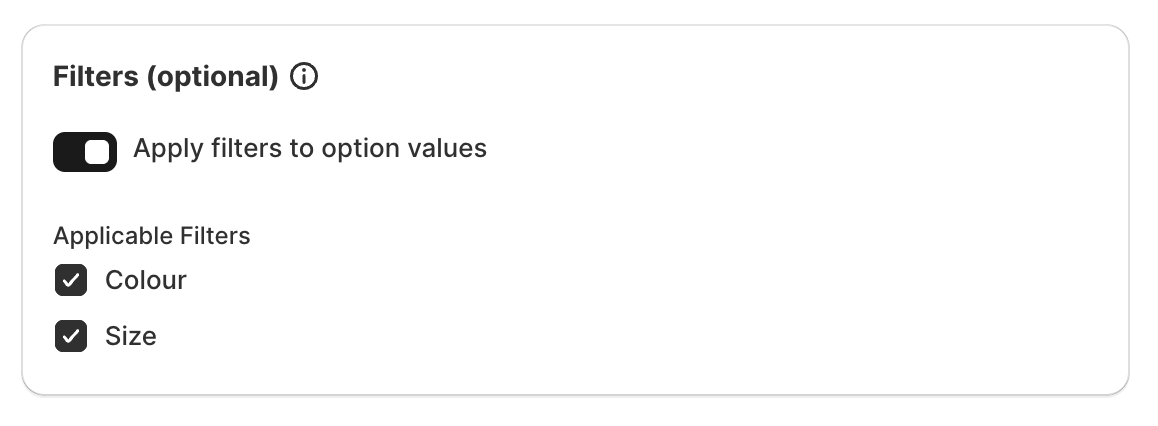
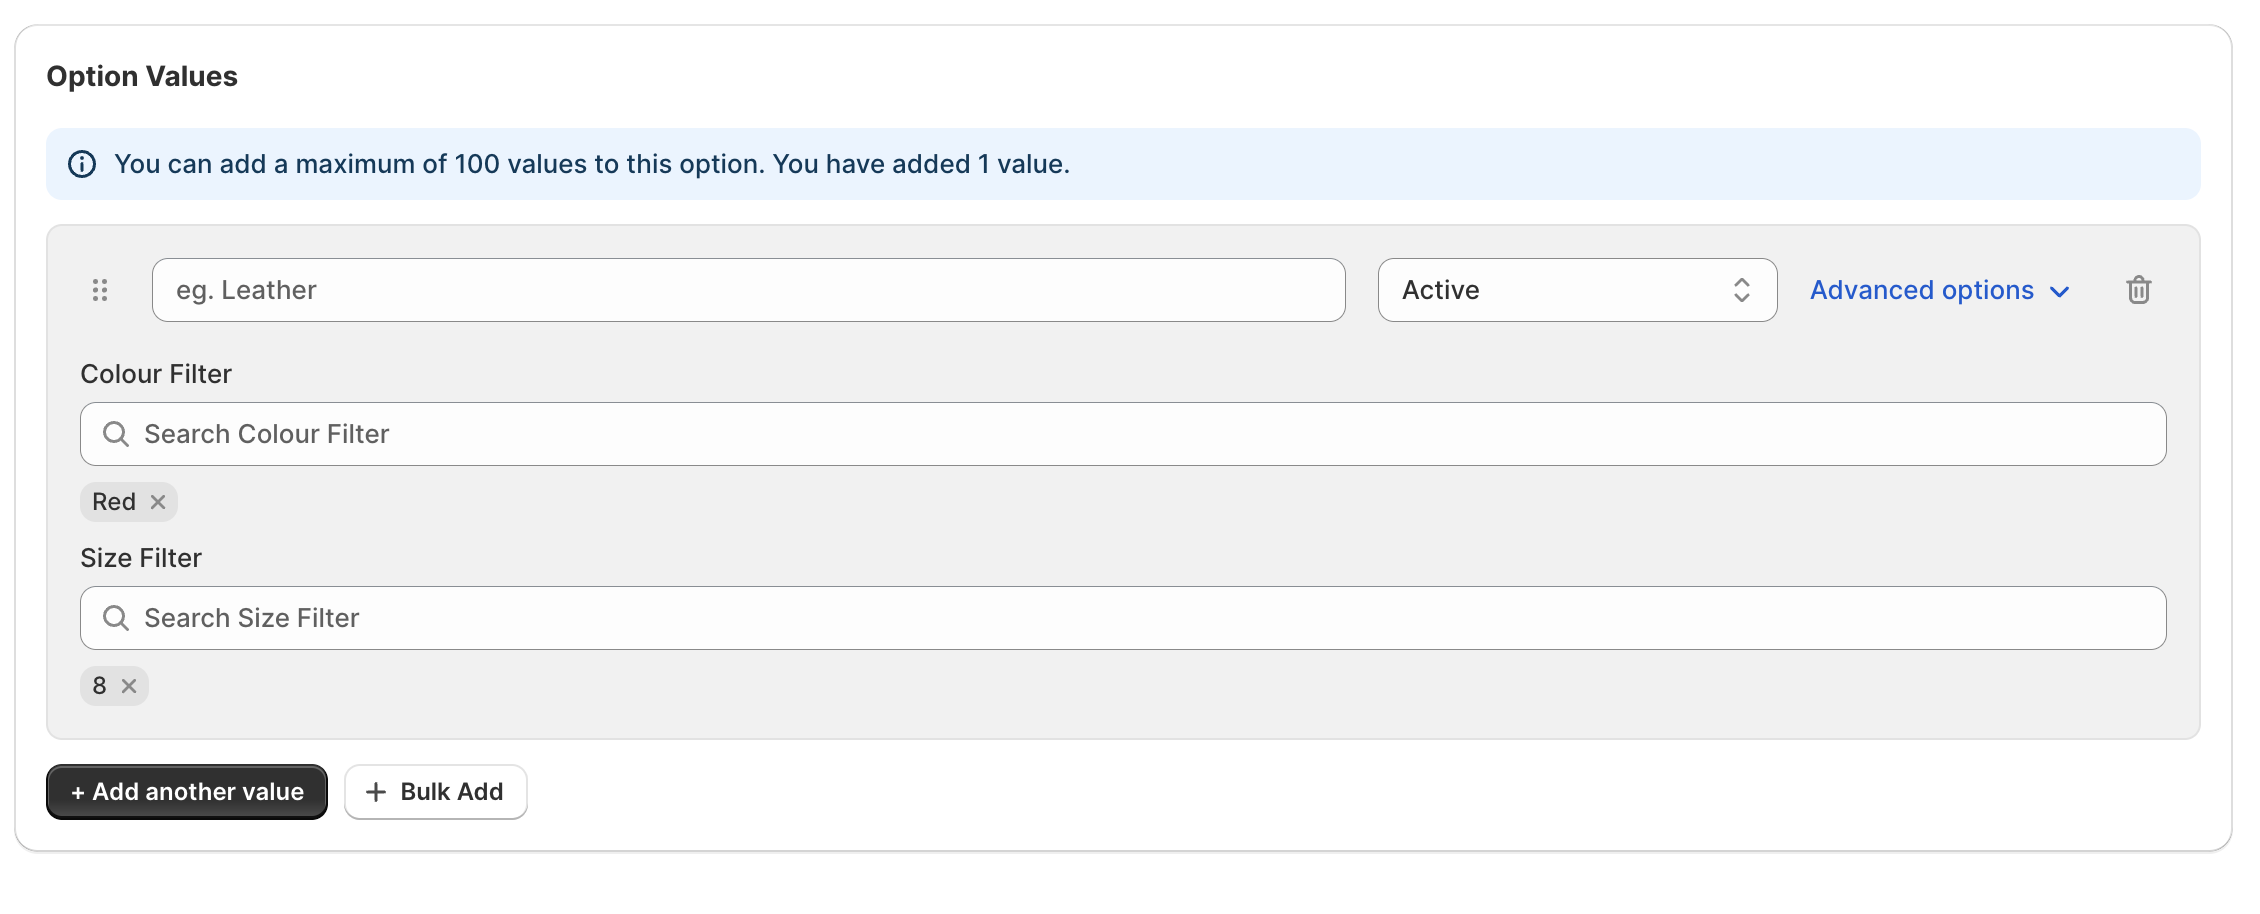
Blueprint adds a filter field in the Option Values area.
For each option value, choose the matching filter value you created earlier by using the Filters (Optional) section.
Click Save Option when you have assigned the correct filter value to each option value.
Example: filtering colour choices
Imagine your template includes many fabric or finish values, including several shades of red.
You could:
Create a filter group called Colour
Add filter values such as Red, Blue, and Green
Assign values like Burgundy and Scarlet to the Red filter
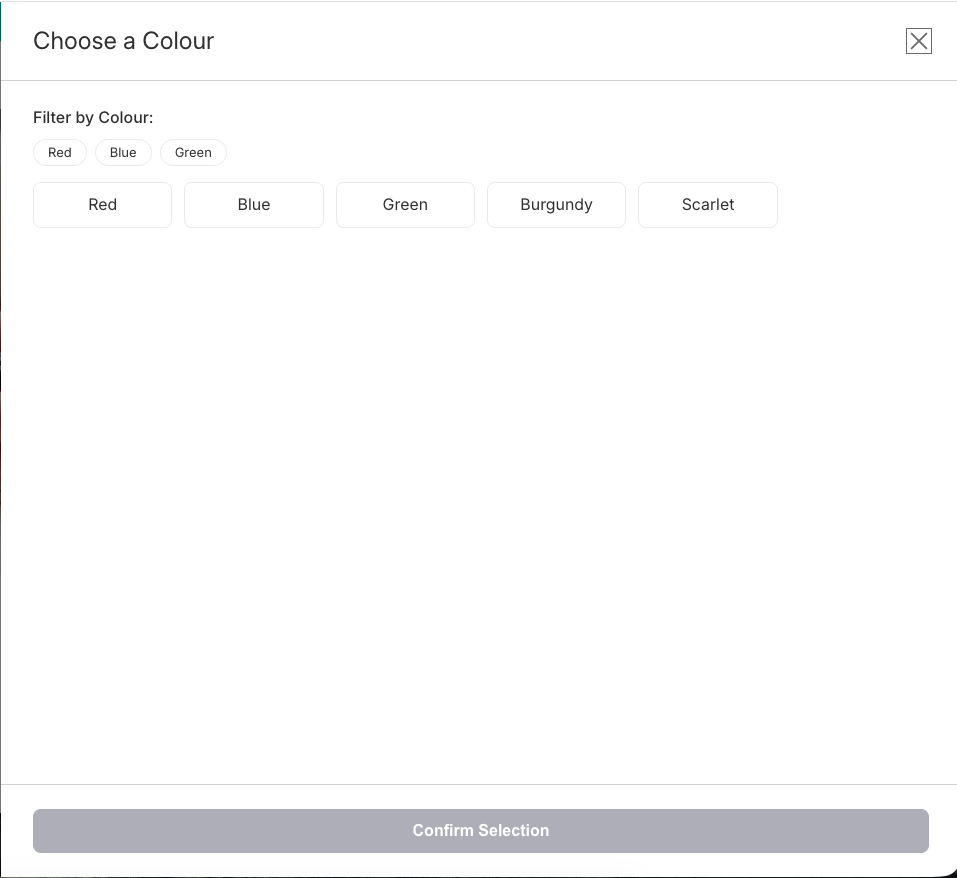
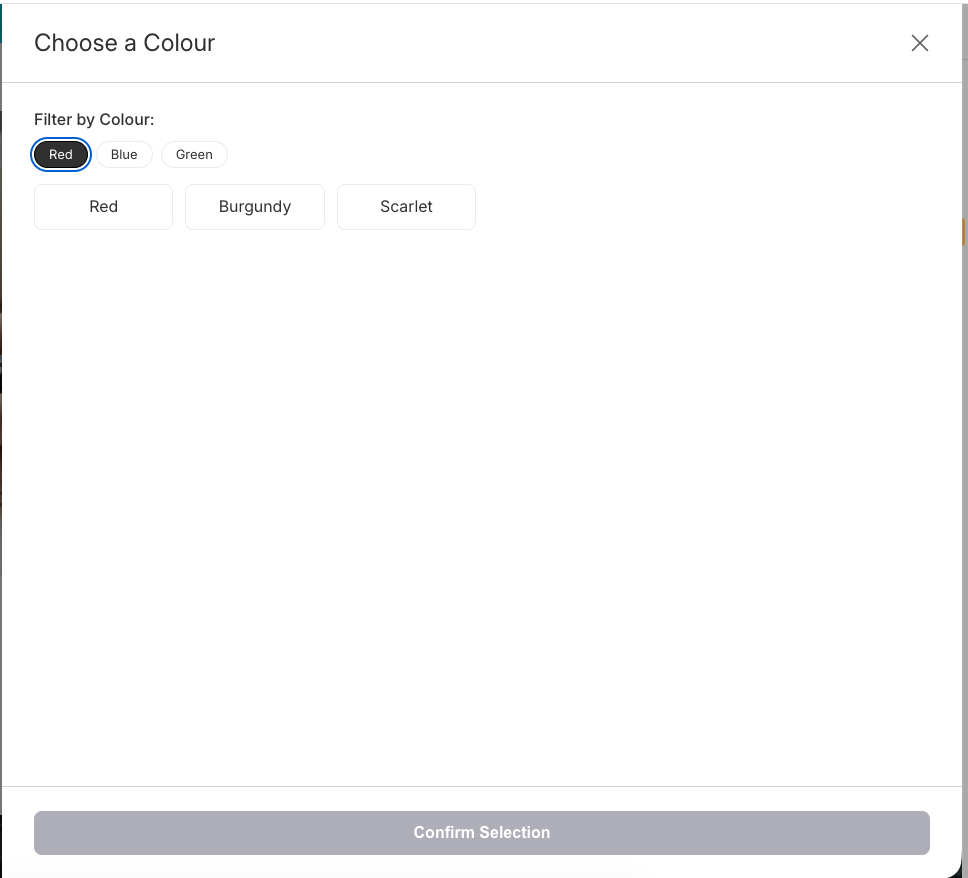
On the storefront, the customer can select Red first and then see only the matching red shades, instead of scrolling through the full list.
Use broad filter values that customers will understand immediately. For example, Colour, Finish, or Material usually work better than overly specific internal labels.
How filter groups appear on the storefront
When configured, filter groups are shown to customers as part of the option selection experience.
They are visible when:
the template is displayed In modal in Storefront Display
an option has Show option values in slide out picker turned on
Best practices
Use filter groups only when they make a long list easier to navigate.
Keep filter value names short and customer-friendly.
Make sure every option value is linked to the correct filter value before saving.
Preview the template on the storefront to check that filters reduce the list in a way that makes sense to customers.
If option values are not linked to the right filter values, customers may see incomplete or confusing results in the modal or slide out picker.
Related guides
Set up a template, choose storefront display settings, assign products or collections, and configure template-level pricing.
Learn when to use Checkbox, Radio Button, Single Dropdown, and other product option types in Blueprint.